

I recently did a Wall Tapestry/ Banner for a marriage proposal and I thought I'll share with you my process, along with some tips and tricks.
For this project, I made a "Will You Marry Me" Wall Tapestry and 2 other smaller scale banners with wooden dowels for the proposal set-up.
Let's get started.
First thing first - cloth.

Photo by Igor Ovsyannykov on Unsplash
Ideally, try to go for fabric that has a higher thread count, which is most likely to be less porous. A fabric like 100% cotton is easy for the paint to glide on due to how tightly threaded it is. Essentially, any type of fabric is good to go, but when the fabric is loosely threaded or woven, be prepared to use more paint than you should because you will need to do several coatings of paint for the design to show true and vibrant. (Imagine this analogy of a sponge vs glass - sponge is porous, while glass is non-porous. So if you were to paint on these surfaces, the paint is bound to be on the surface of the glass, but more likely to seep through the sponge.)
To tell whether or not a fabric is good to paint on, simply look at the intricate threads making up the fabric. If you can see the individual threads used, means it's more porous!
Another thing - some fabric do shrink after washing. So you might wanna wash your fabric first to get the right sizing! Washing will also help to remove any stiffener in the fabric, which hinders paint or ink to adhere to the fibres.
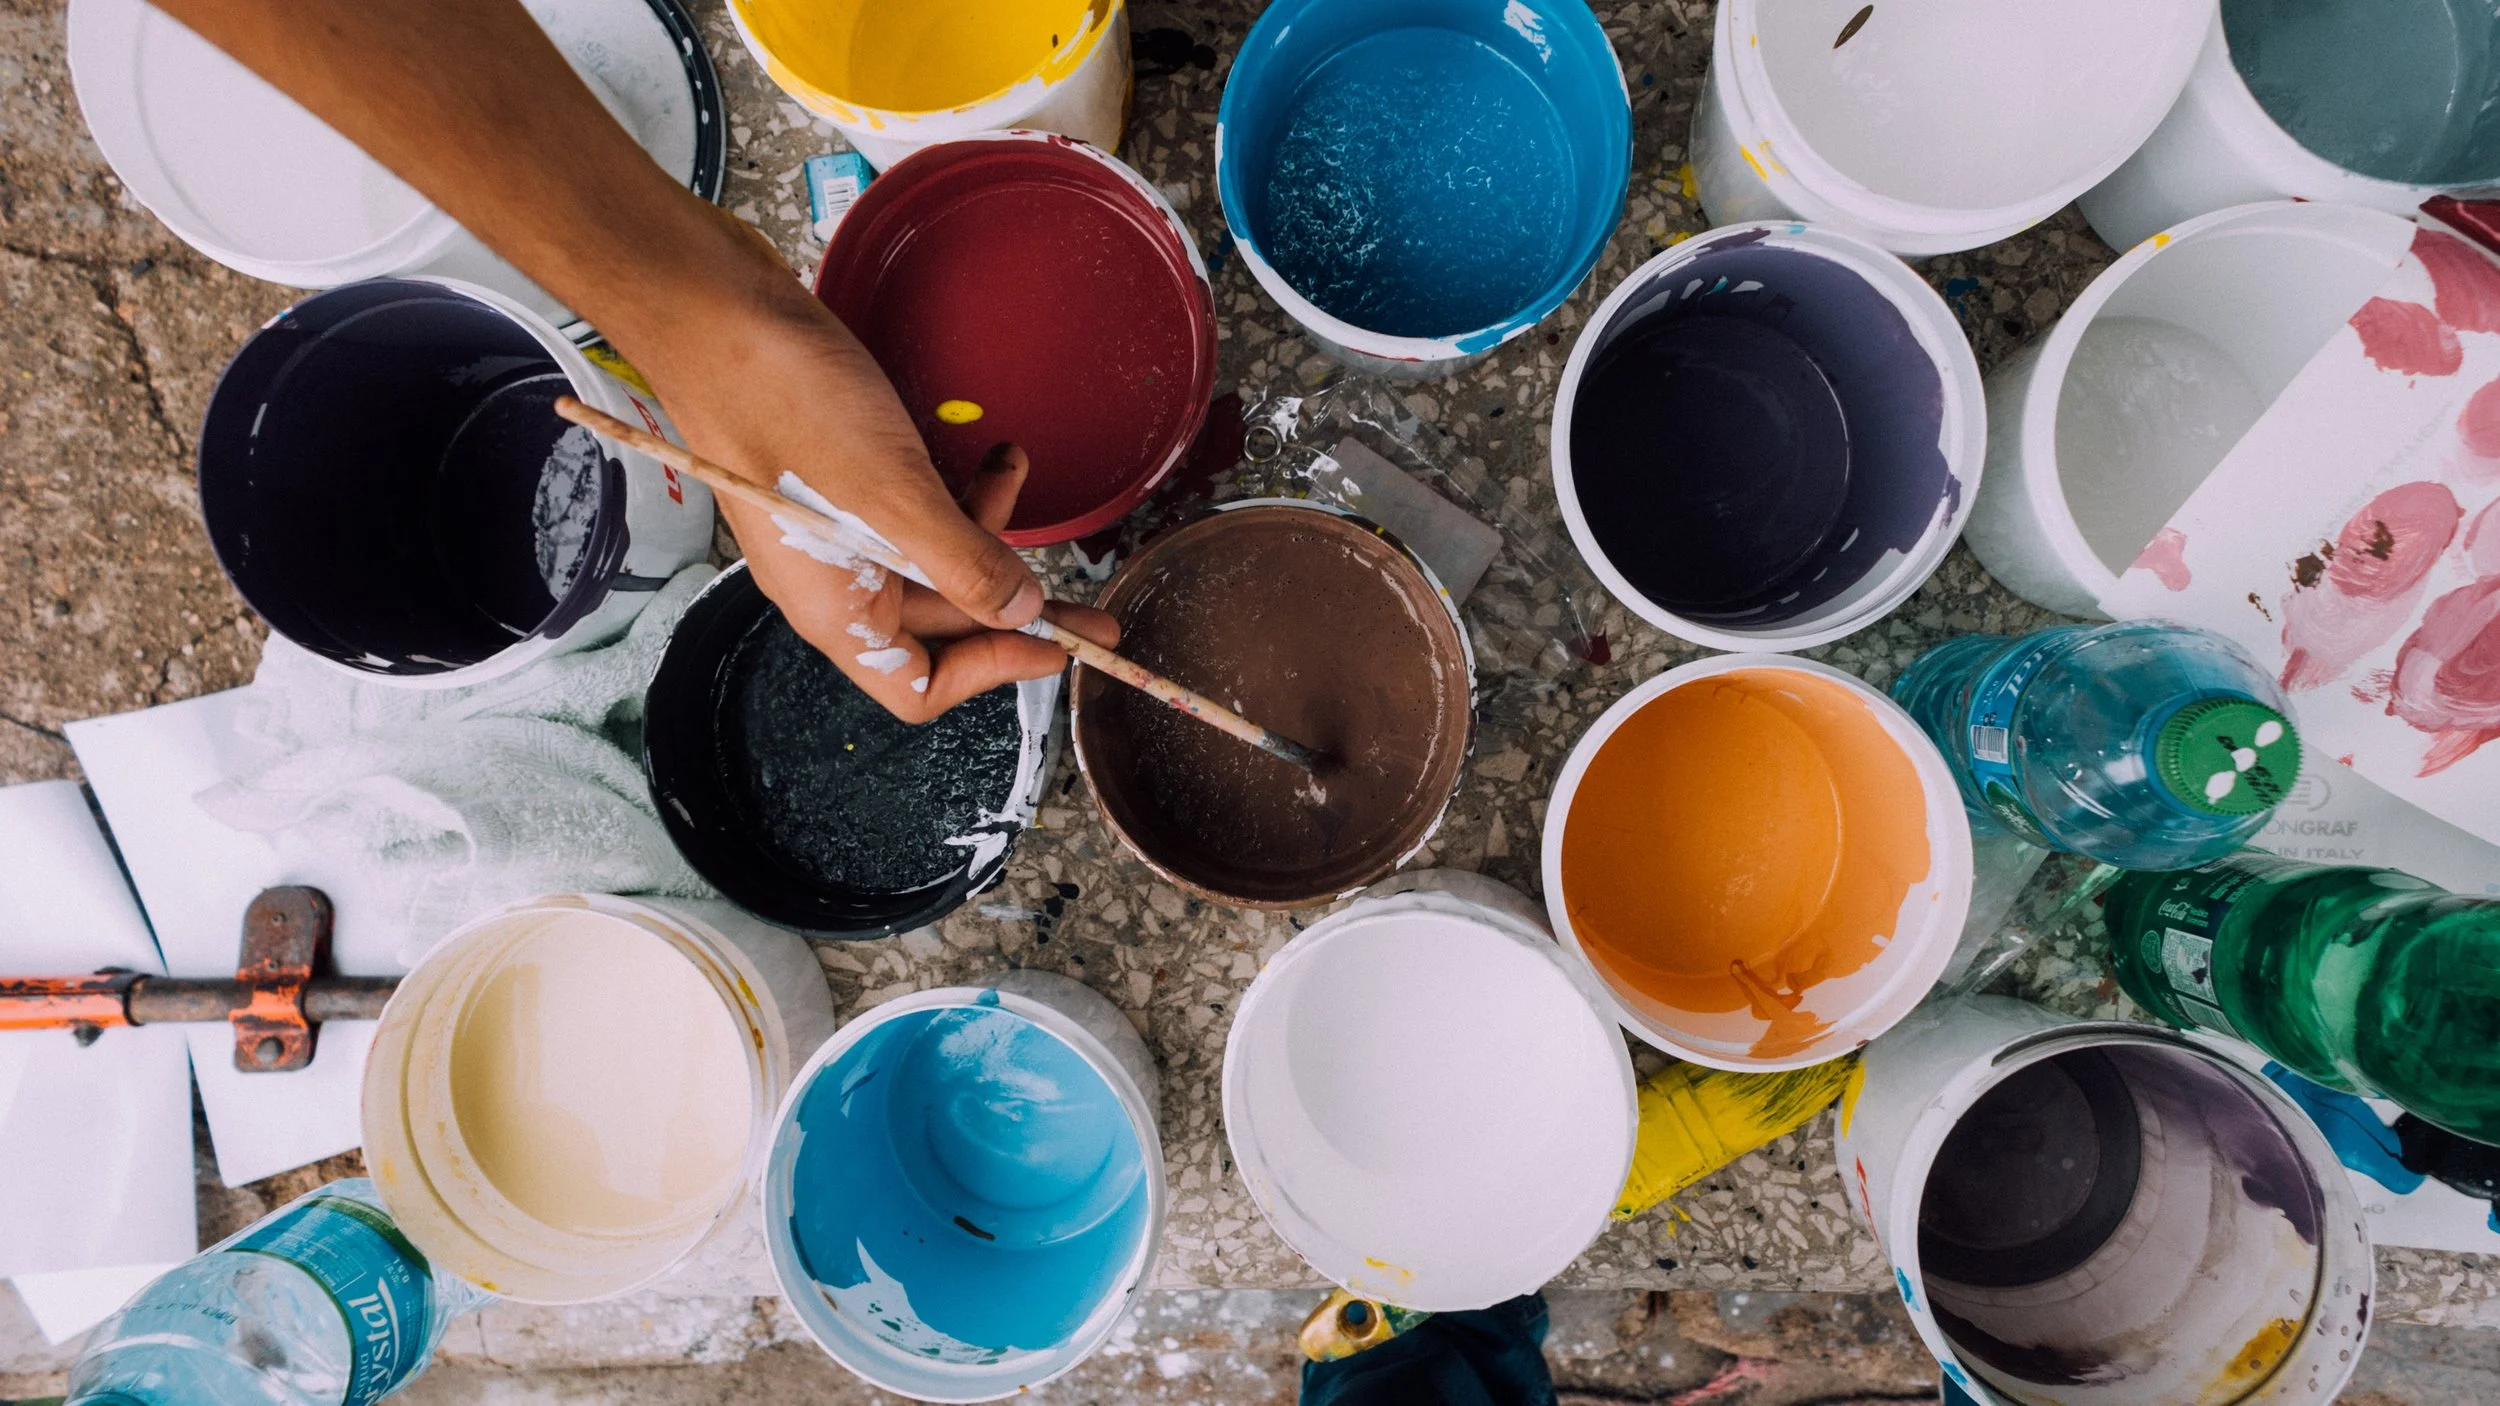
Photo by russn_fckr on Unsplash
Next - paint, or in my case, sharpies.
I love me some good ol' Sharpies! So those were what I went for in this project, especially when I wanted the crisp and thin hairlines in the upstrokes of my letterforms. Because sharpies are alcohol-based markers, they tend to bleed through the fabric, so make sure you go for a heavier weight fabric if it's within your budget.
If not, I highly recommend these Molotow markers - they are acrylic based, not fabric markers in particular, but it works amazingly well on fabric (even the sheer and thinner ones), plus incredibly versatile for other materials like wood, leather, glass, acrylic etc. (I’ve even used Molotow markers on wall murals!).
If paint and brushes are right up your alley, definitely go for that! Plus, if you need a variety of colours in various shades, this is probably a wiser option. When I went to an art shop last year, I talked a bunch with the storekeepers there about the best paints to use for fabrics and what not, so let me share with you what I had learnt from them and other things I've read about over the year.
Fabric or textile paint/ markers fair best because they adhere to fabric better than acrylic paints for instance, which are more likely to "sit" on the fabric instead of "in" the fibres, hence easier to fade or peel off. Then again, depending on your project, acrylic paints (Golden's the best in the market!) can be good enough. They will crack in time so make sure you add a fabric agent/ medium to thin the paint so that it is easier for application and this step also helps in rendering the paint "softer" on the fabric; in other words, less likely to get all crackly. One thing to note though, the thinner the paint, the longer it takes to dry. So definitely try to find a balance there, especially if you're tight on deadlines with your project. If you're painting with intention to wear it or say, it’s likely for your work to get wet, heat-setting your work may be something you want to think about, so that it can be machine-wash ready for future repeated uses and also, more weather-proof.
Lastly - brushes.
If you're doing very detailed work, go for brushes that can hold a fine point well. If you need a good line integrity or consistency, I find that broad-edge brushes fair better as you can use the flat side of the brush and hold a consistent line weight that way. Round brushes kinda vary in line weight depending on the amount of pressure you apply. So be mindful of the brushes you use for different aspects!
Say you're using paint that has high viscosity (thick and less fluid), perhaps opt for synthetic brushes as they have stiffer bristles/ brush hairs that can hold up heavy body paints better. Natural brushes (made from animal hairs) tend to do better for more fluid paints such as watercolours. Or, if you’re like me, who wants versatility, I use these mix media brushes from Princeton, that would work with most mediums regardless of what project I’m working on.
Some tips on - the painting/ inking process
Now that the materials are outta the way, let's talk about the fun part - inking/ painting! Ideally, you should do a mock up of your design on the fabric, especially if you've many blocks of information to put down. For me, it was pretty straightforward in terms of design, with the two key phrases - the lucky girl, "Serena Vu" and "Will You Marry Me?". I didn't have a projector on hand, so free-handing the pencil sketch was an absolute pain in the ass but I'd rather do that than ruin the fabric and repurchase another!
Some tips for this step:
1. Iron your entire fabric first, to rid the various haywire creases, but leave the main pre-folds lightly visible. Otherwise, you can make light folds on the fabric by folding it into half and then quarters and further sub-quarters to create a grid system to guide your lettering. I self-discovered this helpful trick while figuring out how to draft up my design effectively for the project and am so glad my head was in a thinking state that day. Now, I don't have to draw in any pencil baselines to guide me, I can just use the folds! How cool is that.
2. If you're painting/ inking on the floor or wall, add some newspaper or cardboard behind your project. I nearly inked my white wall black, I can tell ya that much.
3. If you want to draft out some pencil line work for your letterforms, but made a couple of mistakes, don't use a normal eraser to erase them - use a kneadable eraser. Not only can it get into various tiny nooks and crannies, it also doesn't leave any rubber dust which would otherwise catch on the fabric fibres (tho you can salvage this by running a razor over, but let's save ourselves some effort here, shall we!)
4. You can either lay your fabric on the floor or upright like I did on the wall. I'd recommend on the wall because for large-scale work, it is a ton easier to do large arm movements for a smooth curve across a large area of the fabric. If your fabric is on the floor, you're limited to the space between your body and one arm length when you're in a seated position. When you're standing up, you can manoeuvre however you'd like across the entire fabric just by keeping your upper body straight while bending your knees for upward and downward movements and sidesteps for left and right movements. Small detail point here but big differences in output. Try it out!
5. For measurements, you can use a measuring tape or ruler. However, for me, I just use my palm size as a rouge gauge to mark out the spacings between my letterforms and whether or not they're consistent relative to the other letters.
6. This last tip is kind of random, but to put my fabric up on my wall, I used 3M's Removable Mounting Strips/Tape. They can hold heavyweight items well and peels off nicely from the wall without leaving any marks or scratches on both your work and the wall.
That's about it for this how-to / tutorial. Artists gotta help other artists, so I hope you enjoyed this read and if you do ever try this out yourself as a personal project, share 'em with me! I'll be happy to answer any further questions you may have as well. Most importantly, have fun and enjoy the process.

A time-lapse of the wall tapestry/ banner that I did will be up on my Instagram (@leahdesign), come find me!
P.s. She said yes!
Much love,
Leah
