
I'll be at LANEIGE's ION Orchard store on 27 Aug from 5-8 pm! Customising on their new foundation:

Since it's an upcoming event and I know some of you creative peeps may be keen on doing events in the future, I thought I'd let you in on my process!
---
Here are some behind-the-scenes pictures of me testing on their product:

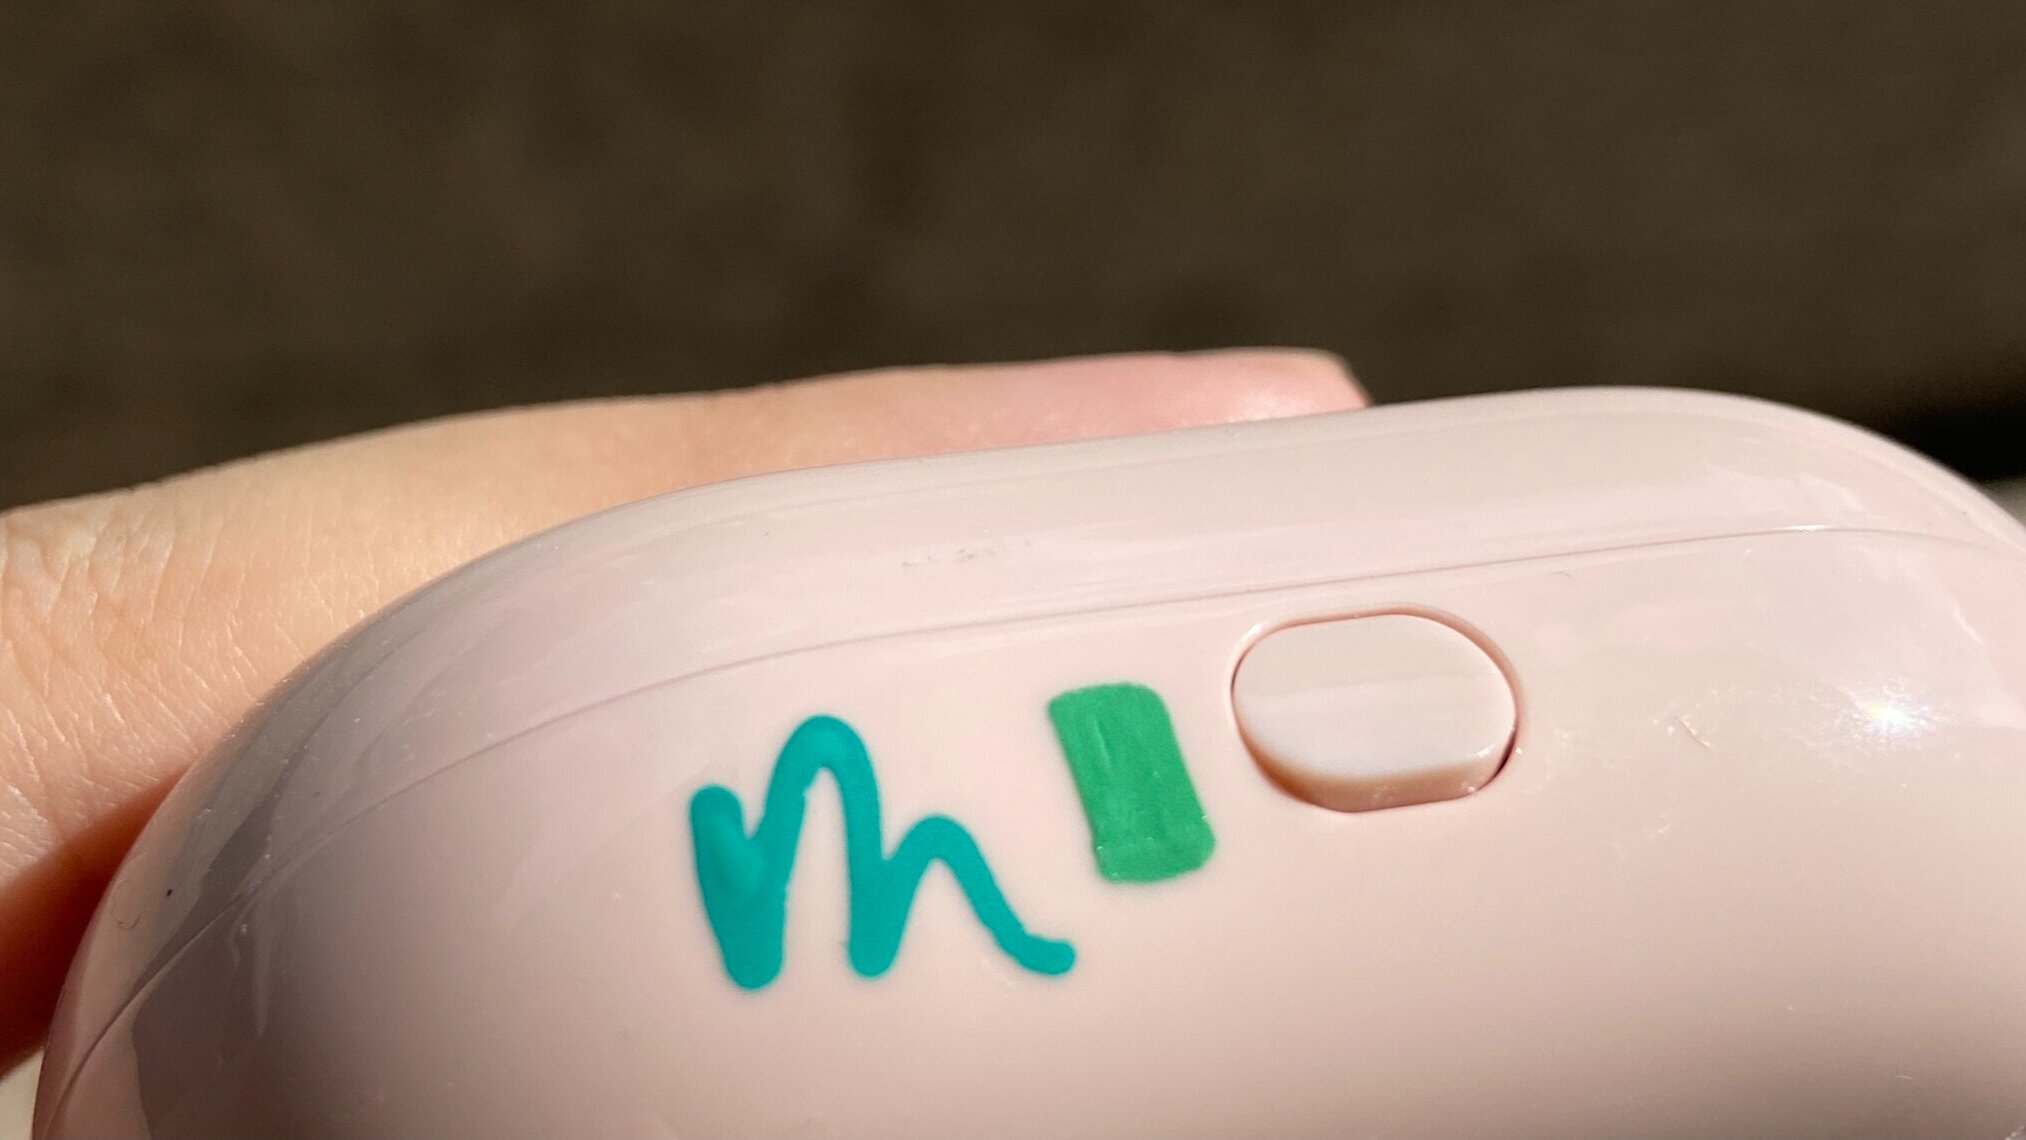
Before a client event, I'd always request for the product item to be sent to me for testing. This helps me to test inks beforehand and ensure that the event will run smoothly as anticipated!
As an artist producing art live, on-the-spot, there's no room for screw-ups and/or guesswork. You're representing not only you yourself as the artist but also the brand who hired you too, so ensuring everything runs perfectly is a minimum requirement.
Other than that, punctuality is a must and customer service and are-you-able-to-handle-potentially-difficult-customers are also great pluses as a live artist!
Producing good work also means 2 things:
Are you able to create good work that both the customer and client are happy with and
Are you able to produce work at a satisfactory pace esp. when there are many waiting in line for your service!
To share, the craziest event I did was at Uniqlo's (linked case study here). One time I had to write 150+ quotes on cards in 4 hours, which was 37.5 quotes per hour. In other words, I had to write 3+ cards every 5 mins (RIP to my right hand).
In hindsight, it was still doable as I think I'm a pretty fast writer but I was also trying hard to maintain the quality despite being fast. If there were more customers in line, perhaps having an additional calligrapher for that event would be really helpful! So another good tip is to ask the client how many customers they're expecting for the event so that both parties expectations are aligned!
Anyway, as you can see - these testing pictures above usually aren't "pretty". There was some back and forth between me and the client when it comes to choosing the exact shade of green and pink that they're looking for! :-) In the end, they chose the soft pink shade as well as the turquoise (more blue-green) shade.
Another tip: if the project scope changes, you can always provide alternative suggestions and be a communicative collaborator instead of scraping the whole project!
Initially, it was supposed to be an engraving event where I'll engrave on the item, but this surface wasn't the most suitable. I then suggested to engrave on the mirror inside the foundation case instead but later on, I learnt from the client that some customers may be sensitive to others touching anything inside the foundation case ie. the cushion. So we had to scratch that idea and change it to custom ink instead.
Hope you enjoyed this blog post! Feel free to leave a comment if you’ve questions and I’ll be sure to get back to you.
P.S. Watch a free class preview from my online calligraphy course!
