
Today, I’d like to share on the process behind-the-scenes on how I made my calligraphy course title design! 💫

So Brush Calligraphy and Script Lettering - What's the difference, you might ask?
For starters, one took me 3 mins and the other took me 10 hours. Can you guess which is which?
As someone who does both brush calligraphy and script lettering, my process goes like this:
1. Concept Ideation + Draft Sketches

The first step for me usually starts with pen and paper! Here I'm churning out sketches, trying out different layout and compositions and seeing which is the most effective of the lot. Go crazy, go messy - its all part of the creative process.
Don't let fear stop you from creating. Remember, there's always another piece of paper!
2. Brush Calligraphy

Here I'm using the Pentel Touch brush pen - essentially its a brush with a pointed nib. The nib flexes and renders thick and thin strokes depending on the pressure applied. Therefore, it gives you great visual contrast in your script, which makes it look really elegant yet bold at the same time.
So brush calligraphy - essentially this is penmanship, where you're creating the letters in *single strokes*!
3. Refining via Script Lettering
I then take a picture of my calligraphy script and import it into my iPad > then into Procreate, which is a digital drawing app. From there, I'll redraw, refine and iterate the design to my liking.
I can get really nitty-gritty in this step: refining each individual curve, adding more visual weight to some strokes or reducing weight on other strokes and even shifting whole words, nudging and aligning them in the perfect layout and composition.
If you don't have an iPad, don't worry! You can do the same with tracing paper, layering sheet after sheet and refine along the way.
In this step, lettering is no longer penmanship (creating single strokes) but draftsmanship; drawing with *multiple strokes*!
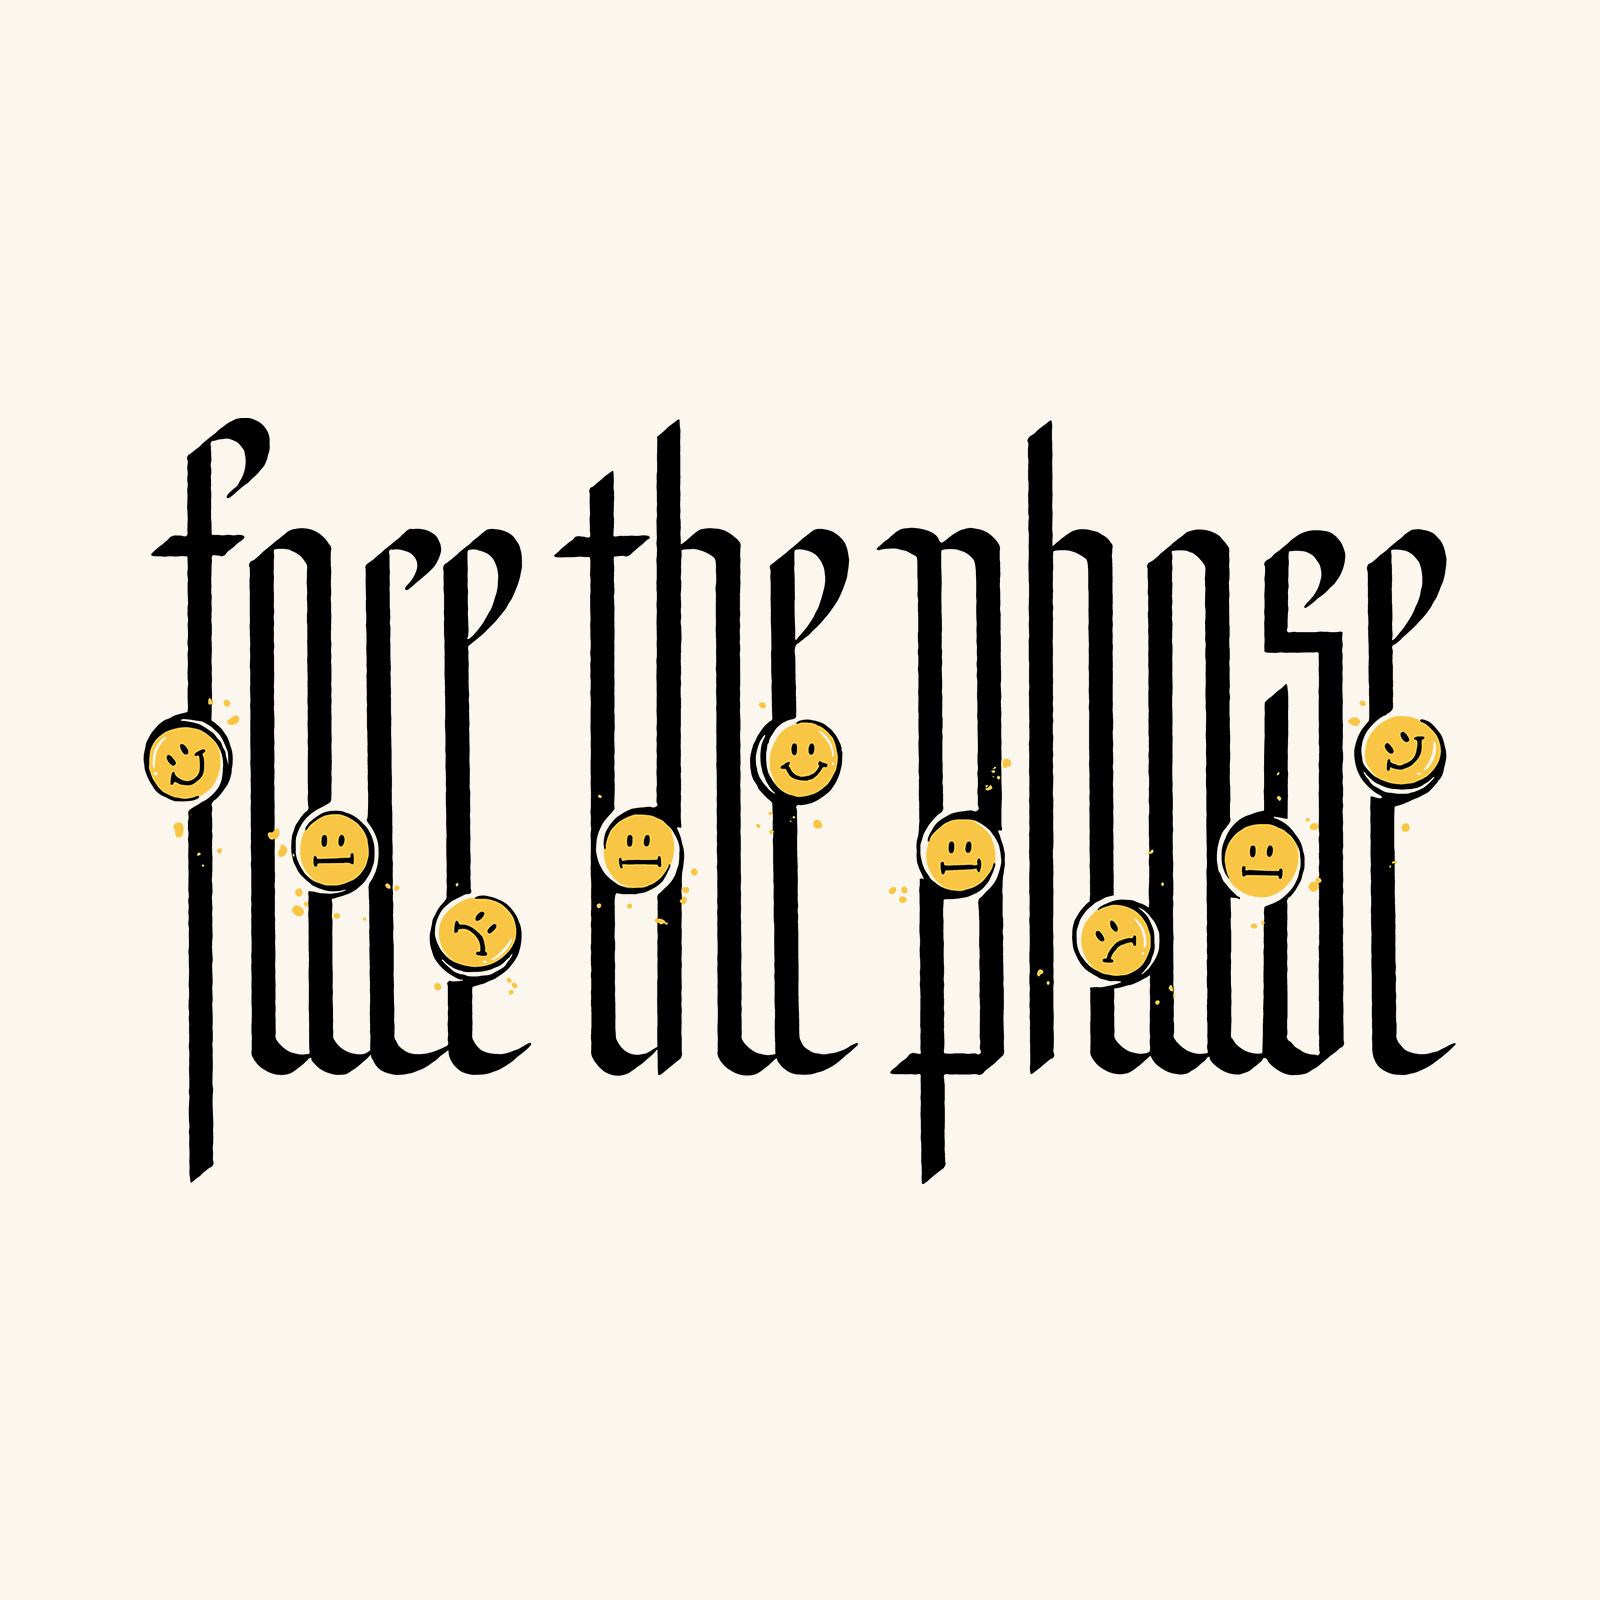
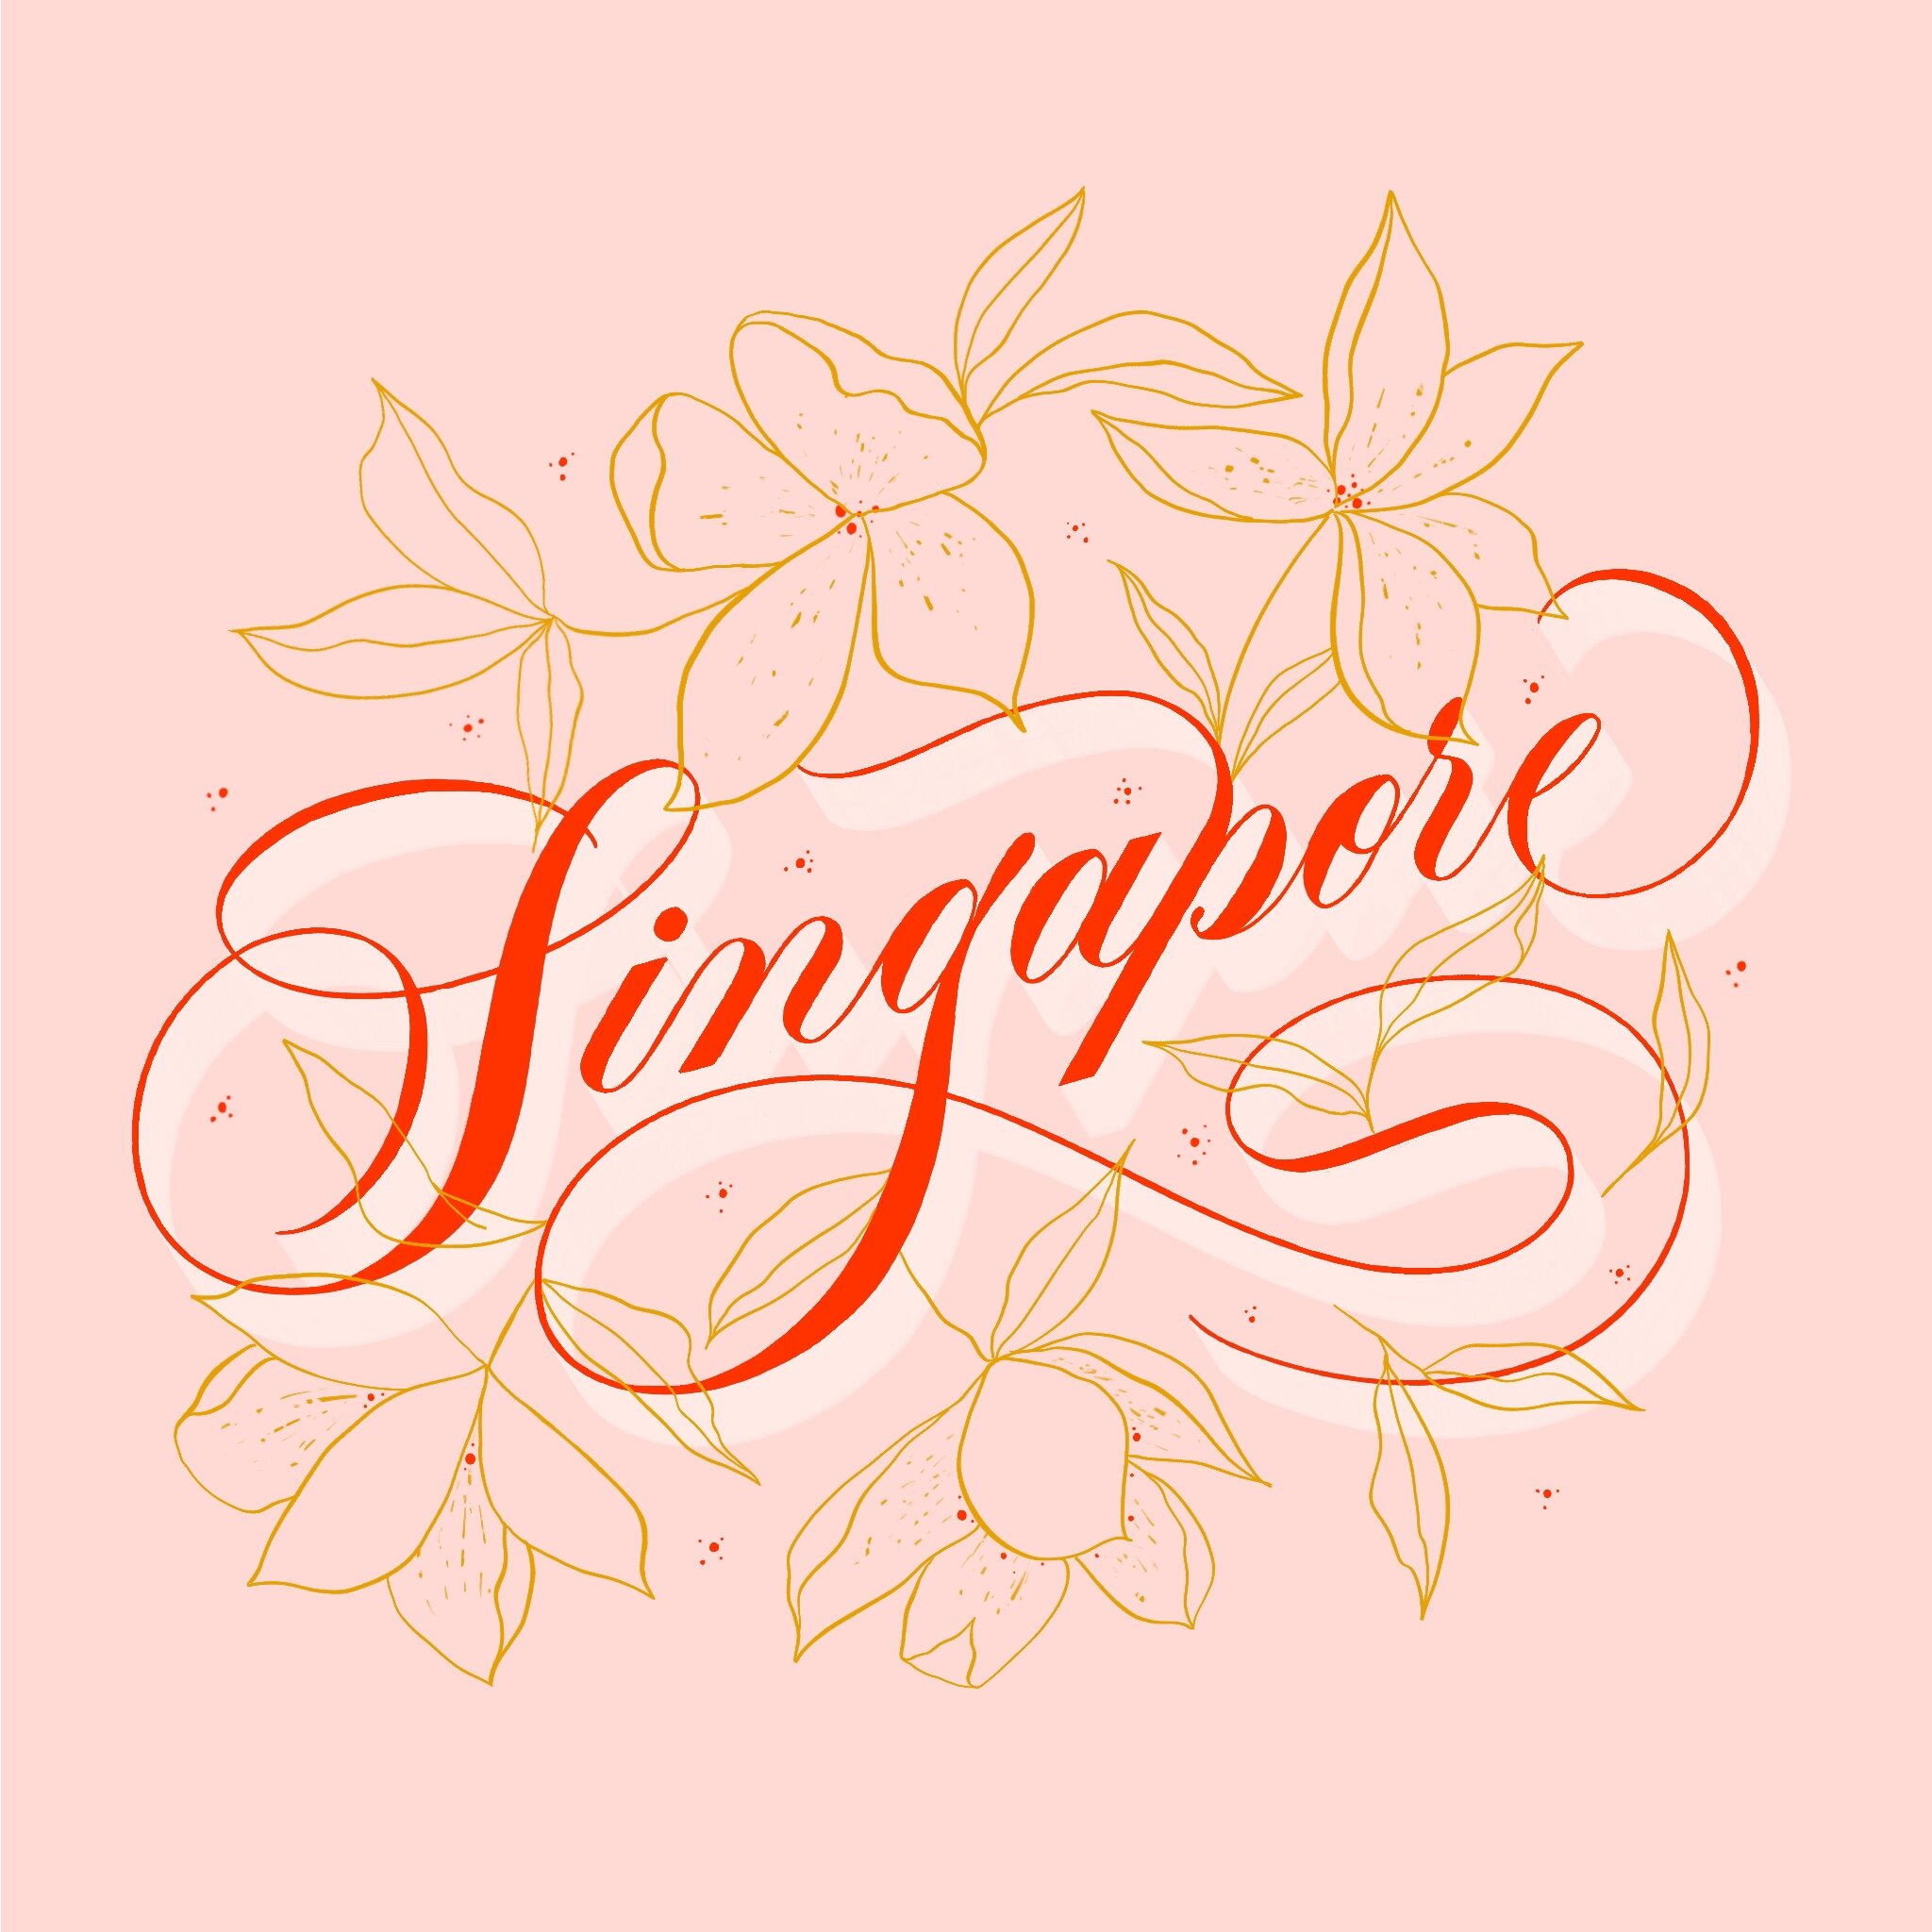
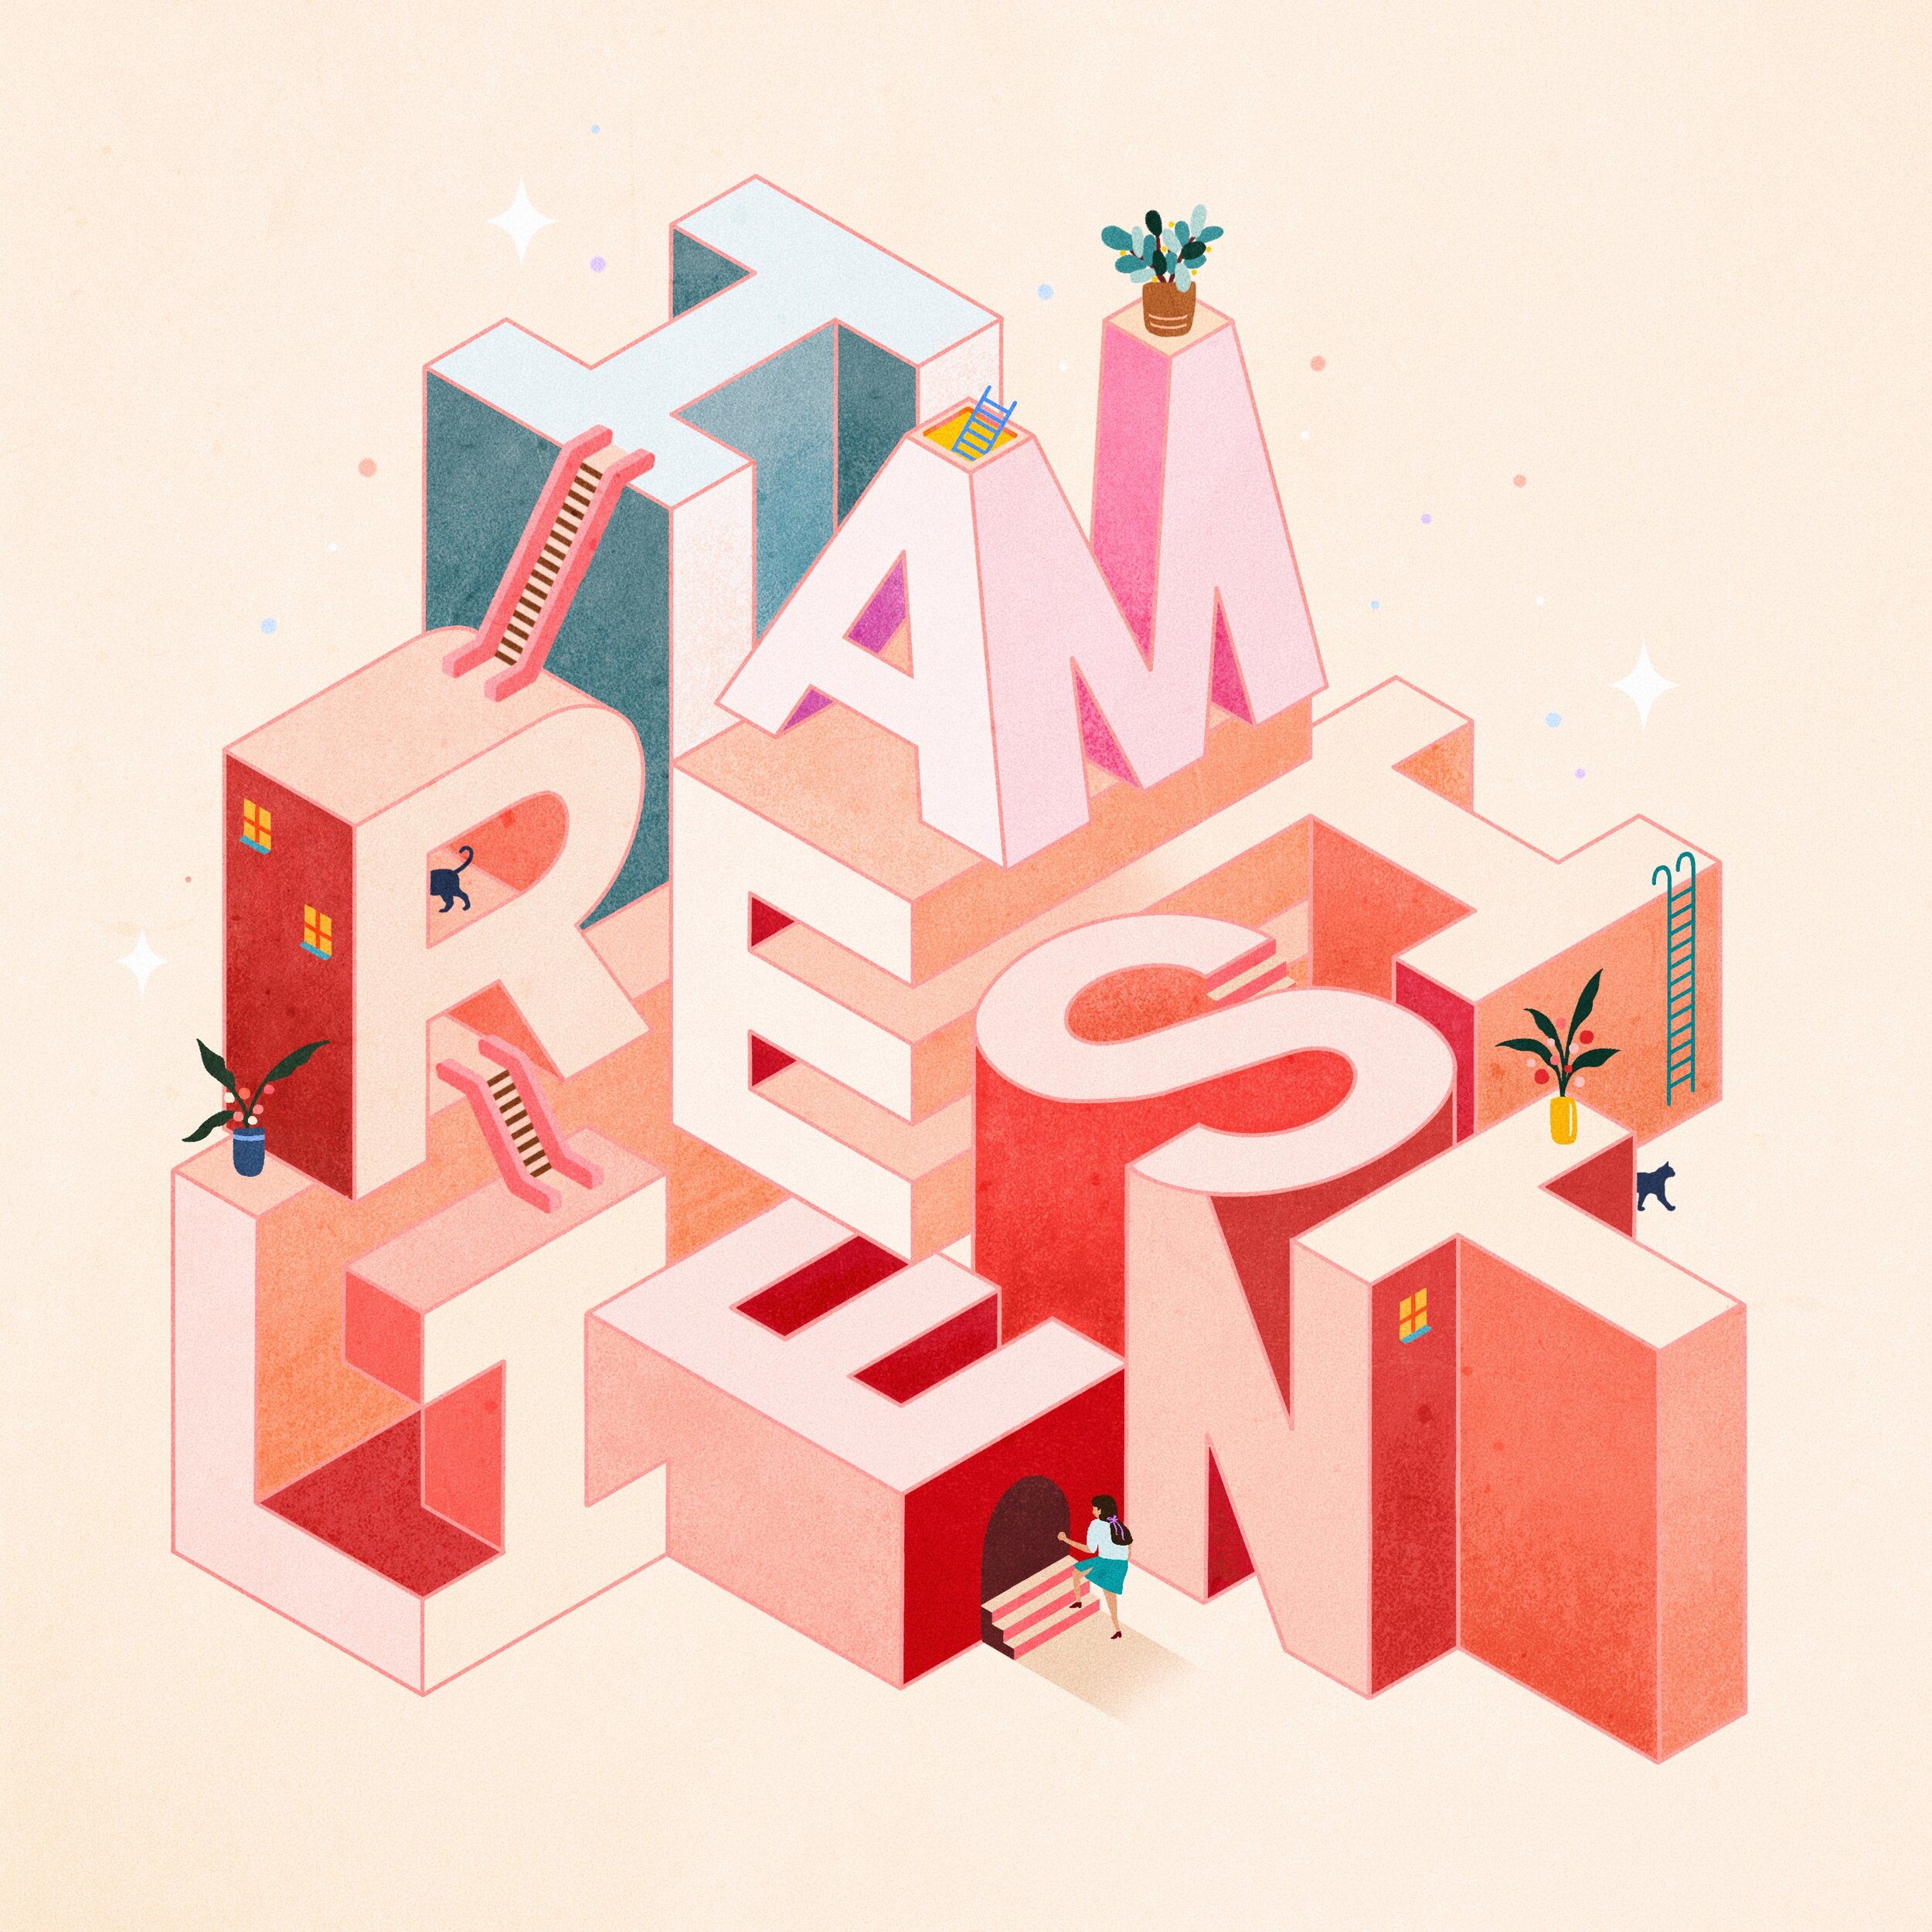
Here are other examples of my work that's not calligraphy, but hand lettering (where I sometimes also like to incorporate illustration!)

4. Finalisation of Calligraphic Design + Optional step: Scene-setting, flat lay photography, post-edit + mockup

All in all -
Script lettering takes more hours as it’s more about drawing, refining, iterating and brush calligraphy, on the other hand, renders a pretty instant result.
The process taken to achieve each of the two differs greatly, but they can absolutely look similar visually from the initial concept to the final design.
And this is because, for script lettering, its letter construction process is – at its core, fundamentally built upon a deep understanding of calligraphy.
I hope you've enjoyed learning more about my process!
If you're keen to learn more about how you can do this for yourself too, know that The Ultimate Calligraphy Course is built with the aspiring calligrapher and artist in mind, as well as lettering artists and designers who are keen on exploring script lettering.
So while this is not a lettering course (a separate discipline on its own), lessons learnt from calligraphy are transferrable and applicable to script lettering designs!
This course is great for both beginners and practitioners alike who seek to utilize a new skill set for custom calligraphy and design projects - from simple hand-written greeting cards, envelope addressing and quotes to more advanced applications such as wedding invites, stationery design, script-based logo design and branding, calligraphy hand-engraving and more.
Sign up here: https://theultimatecalligraphycourse.com/ !